SEO, or Search Engine Optimization, is essentially a way to boost your website (links) up in search engine rankings. Companies pay, a lot at times, to have their link displayed first when someone searches for their product. By optimizing your content for search engines, you can significantly increase reach and have an absurdly high ROI.
5 Steps to SEO Success
Here are Ilia Markov’s 5 steps for basic SEO. Markov is a marketing consultant who is also a blogger.
- Find relevant keywords with good search traffic potential
- Create and optimize pages for search engines and users alike
- Make sure your website is accessible to both bots and humans
- Build relevant links from other high-quality websites
- Track what matters
Here is a quick 20-min video that summarizes what the above article talks about.
Google AdWords (Your new, not-so-secret weapon)
Google Adwords is a tool Google offers to make digital marketing easier. While it’s not free, you only pay when a user completes your desired action. This makes it easy to stick to a budget.
Here’s a basic guide to getting started with Google AdWords to meet your SEO needs.
Step 1: Background Research
Unfortunately, before getting started with Google AdWords, you’re gonna have to do a little research to find keywords to use. Don’t worry! It’s nothing complicated. Let’s say your company sells shoes. You could first start by Googling the keyword “shoes”. When I did so, I saw an ad for Adidas and some links to shoes.com and Zappos at the top of the page.
Surprisingly, I had to scroll to find Nike. When you put more thought into this though, it makes a lot of sense. People who want to buy Nike shoes probably won’t just Google “shoes”. They’ll look up “Nike”, or the name of a particular shoe Nike sells like “Free Run” or “Roshe Run”, for all of which Nike is the first website to come up.
Start thinking about how your audience would find out about your product. First of all, what do you do? How would you describe your product? Next, think about what someone would search to find a product/service similar to what you offer. If you’re a marketing agency, sure you may want to use keywords like “marketing” or “marketing agency”.
However, they could be expensive or highly competitive so you may want to try something more specific to what you offer like “California marketing agencies”. Usually, the more specific the keyword, the cheaper it is to bid for. Using a tool like Google’s Keyword Planner may make things easier, but you’ll need to create an account.
Step 2: Keyword Match Types
People don’t search for something the same way. There are many possible searches people could make that may all lead to the same outcome (website).
Going back to the marketing agency example, ideally, you’d want to show up for a search for “Cheap Marketing Agency” or “Marketing Agencies that don’t cost much money”, etc. To maximize ROI, you don’t want to limit yourself to only one or a few such combinations.
This is where keyword match types come in… There are three types of match types: Broad Match, Phrase Match, Exact Match, and Negatives.
1. Broad Match
This is, as the name suggests, the “broadest” category, meaning that it allows the most room for interpretation. It allows you to tell Google what keywords you want to bid on and have your ads displayed.
For example, you may want to bid on and have your ads shown for the keyword “marketing agency”. With a Broad Match, your ad will end up being displayed for any search relating to the keyword you selected, in this case, “marketing agency”.
While this will likely maximize the number of searches that your ad could be displayed for, it will probably end up being the most expensive. It could also result in your ad being displayed for a search for “worst marketing agency”.
Something you definitely don’t want to be paying for! You may end up getting a lot of impressions, but not necessarily the impressions you want.
2. Phrase Match
Again, a fairly intuitive name. With a phrase match, you have more control. Again, if you choose phrase matching for the keyword “marketing agency”, your ad could show up anytime these keywords are searched in the same order, with some additional words on either side.
For example, your ad may show up for “fast marketing agency”, or “marketing agency that is most worth my money”.
3. Exact Match
This is the most specific type of keyword match. It lets you specify the exact terms you want to be displayed for. If you strictly want to limit your ad’s potential audience to people in a certain region, like Greater Minnesota, you can specify that you want your ad to be displayed for a search of “Marketing Agency in Greater Minnesota”.
Unfortunately, it’s not 100% accurate, Google made a change a few years ago to allow for slight variations. For example, your ad may show for “Greater Minnesota Marketing Agency”, which may or may not be a problem.
Here is a script to make exact matches more exact. You may end up restricting your reach, but will more easily be able to target who you want to see your ad.
4. Negatives
Negative matches allow you to specify for what modifiers (additional words before or after your keyword), you don’t want your ad to be displayed for.
For example, you may not want your ad to show up when someone searches “Worst Marketing Agency”, or “Cheap Marketing Agency”. You can upload a negative list to Google AdWords.
Analyze Your Marketing Data in One Place – Track key metrics, uncover trends, and make data-driven decisions.
Step 3: Create PPC Ads
PPC means pay-per-click; advertisers pay each time their ad gets clicked. Now you are ready to create your ad copy. The right ad copy can significantly increase your ads’ click-through rate (CTR).
In 2016, Google created a new standard of PPC ads, called ETA’s (Expanded Tech Ads). ETA’s are optimized for the mobile-first world, they feature a more prominent headline and provide extra room to highlight your products and services.
ETA’s are comprised of a headline, destination, and destination URL. A good practice is to create multiple Ad copy versions and A/B test them. This allows you to pick the best one and roll with it.
Step 4: Set Up Ad Groups and Campaigns
Now that you have keywords and ads, it’s time to categorize them into ad groups. Start separating your products and services, and make an ad group for each one.
For each ad group, you’ll need a set of keyword(s). A helpful exercise is to create a table with all of your ad groups and keyword(s). Going back to Nike and their shoes, suppose they want to advertise both “Free Runs” and “Roshe Runs”. Both of those would be their ad groups. Both likely use different keywords.
After a while, you may decide to have multiple campaigns. Nike may decide that they also want to sell basketball shoes. Therefore, in addition to their campaign for running shoes where they advertised “Free Runs” and “Roshe Runs”, they can now create an additional campaign for basketball shoes with ad groups such as “Jordan’s” or “LeBron’s”, each with its own keywords.
Step 5: Bidding
Pull your wallet out because it’s bidding time! Premium search ranking spots aren’t free, Google sells them to the highest bidder. AdWords auctions decide how much you’ll end up paying for each action and what position your ad will appear in when that keyword is searched.
Cornell University has explained the auction process well here. This shows that what you bid isn’t always what you end up paying.
Google AdWords budgets are set as a daily limit. You can choose how much you are willing to spend in a day and if/when that amount is reached, your ad will stop being displayed and you will no longer have to pay-per-click.
Google also lets accounts spend up to twice their “daily limit” each day, so as they are meeting their campaign objectives.
Your budget is evened out over the course of a month. Google will never charge users more than 30.4 times their daily budget. (30.4 is the average number of days in a month.)
Therefore, if you end up spending twice your daily budget frequently early on in the month, you may not have enough budget allocated toward the end of the month. Here is a helpful script to help you overcome this.
There are two types of bidding: Automated and Manual
1. Automated Bidding
Google has its own machine learning technologies to maximize the value it delivers to customers. With automated bidding, you can tell Google what your objective is, and how much you are willing to spend.
Their algorithms will take care of the bidding for you! While this may sound extremely appealing, you are essentially ceding control to Google and may end up with very costly and inefficient campaigns.
Although setting a maximum ceiling on bidding can help, you may still end up dissatisfied with your results. Fortunately, machine learning models do learn over time, so you may have better results in the future.
2. Manual Bidding
In this case, you have to do the bidding yourself. With manual bidding, you have more control and flexibility and can adjust bids quickly to maximize performance. Unfortunately, as your account grows, it can get tough to stick to manual bidding, as it increases work for you. If you only have a few sets of ad groups, manual bidding is the way to go!
Quality score is also something to consider. Google calculates them to determine how much an account has to pay per click. The higher your quality score, the less you will have to pay per click.
To minimize your CPC, set a low max bid, have a high-quality score, and have a low ad rank. Quality scores are on a scale from 1 to 10, with 1 being given to irrelevant ads and landing pages, and 10 awarded to brands that match the user’s intent with a relevant ad and a great landing page experience.
Step 6: Metrics to Assess Performance
By this time, you should have campaigns running and revenue should be flowing in. Now, it’s time to assess your performance to figure out what’s working and what may need to be changed. Google lets you track your visitors’ device type, demographic factors, and location.
For example, if you notice you are having high success with the “Caucasian Male from Canada using a Tablet market”, you can cater future campaigns to increase conversions among them.
Metrics to track are:
- Click-Through-Rate (CTR): Clicks/Impressions
- Conversion rate (CVR): Conversions/Clicks
- Cost-per-click (CPC): Spend/Clicks
- Cost-per-acquisition (CPA): Spend/Conversions
Pro Tip: You can use ViewMetrics’ Monthly Marketing Report Template to track your marketing efforts.
Conclusion
Hopefully, the aforementioned steps help you get your AdWords account up and running. While it may take some time and effort, I assure you that your experience will be very rewarding. Good luck, I hope your future campaigns are very profitable!
Work smarter by automating client reports now
Get Started for free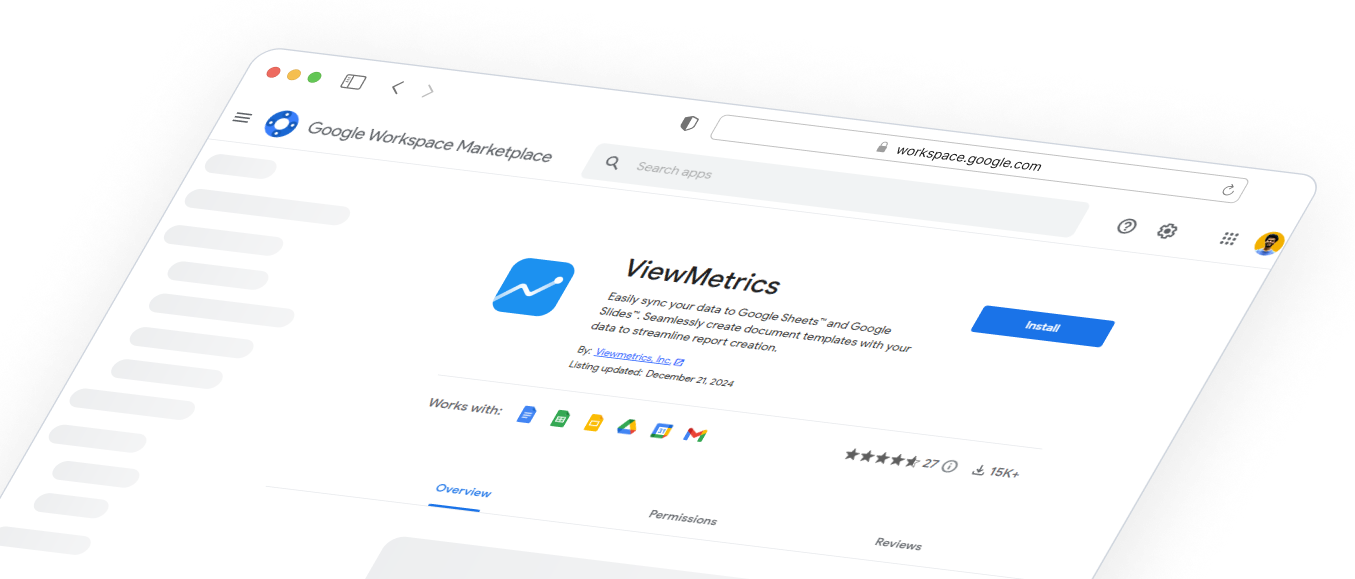
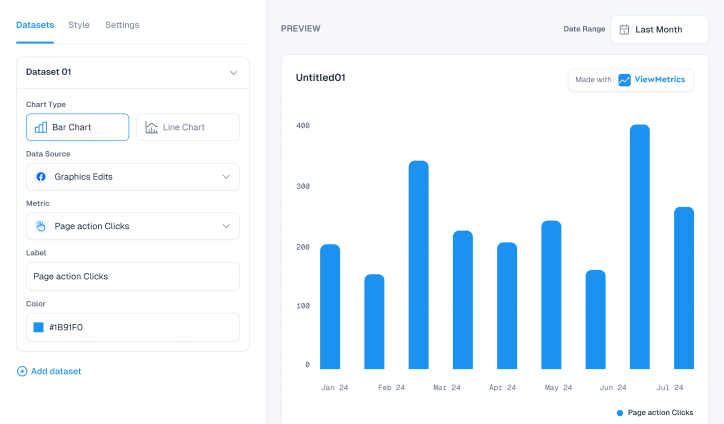
Design That Stands Out
Elevate visuals effortlessly with customizable styling options tailored to match brand aesthetics.
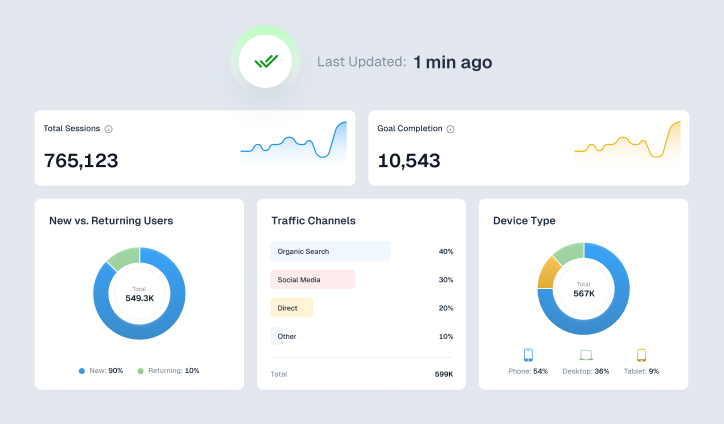
Effortless Data Syncing
Keep insights up-to-date with seamless and flexible data synchronization across platforms.
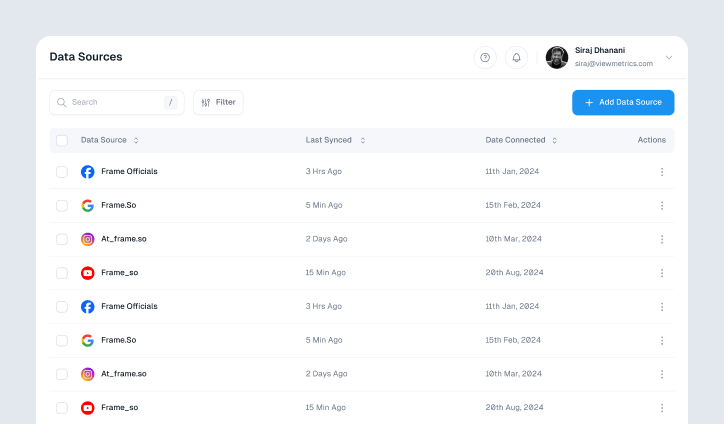
Connect with Ease
Integrate effortlessly with leading platforms to streamline workflows and maximize efficiency.
Boost Productivity with Google Add-On
Access powerful tools directly within Google Workspace for seamless marketing reporting.
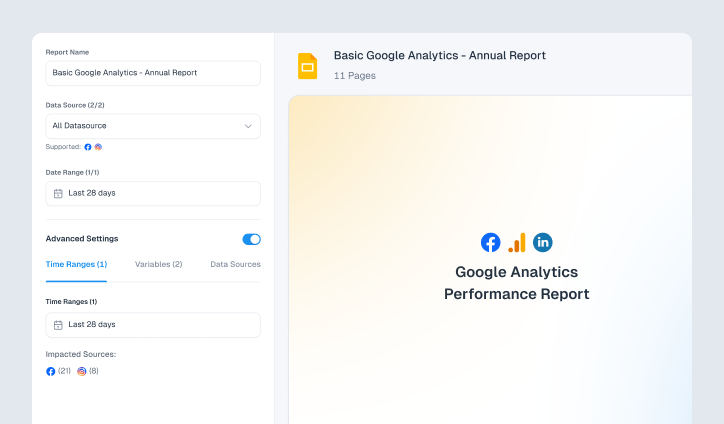
Custom Reports, Instant Insights
Generate tailored marketing reports effortlessly, delivering key insights in just a few clicks.
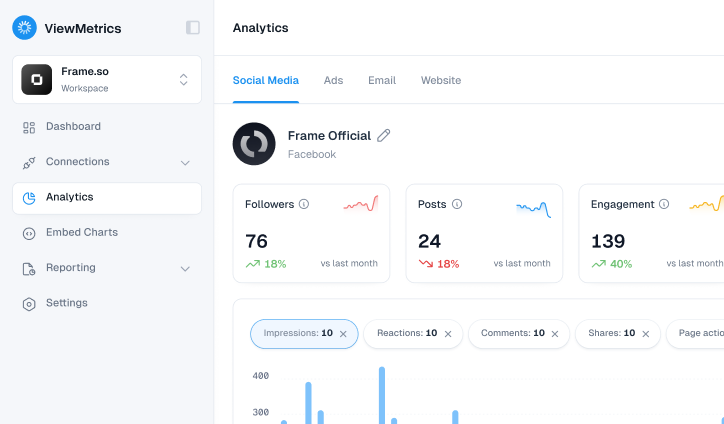
Actionable Analytics at a Glance
Access in-depth analytics to uncover trends, optimize strategies, and drive impactful decisions.
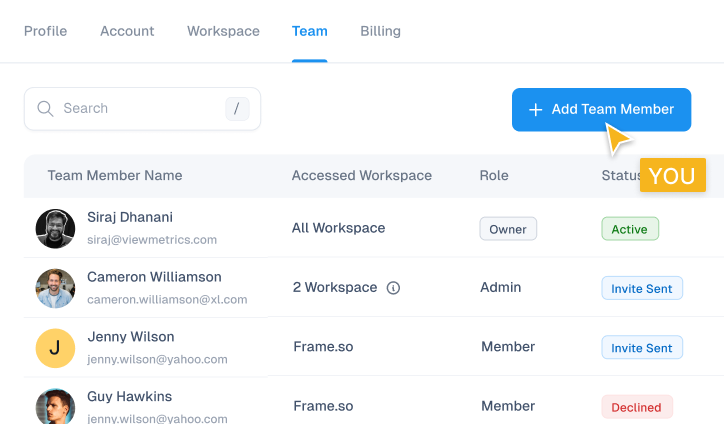
Collaborate with Ease
Invite team members to share insights, streamline workflows, and work together seamlessly.

Design That Stands Out
Elevate visuals effortlessly with customizable styling options tailored to match brand aesthetics.

Effortless Data Syncing
Keep insights up-to-date with seamless and flexible data synchronization across platforms.

Connect with Ease
Integrate effortlessly with leading platforms to streamline workflows and maximize efficiency.

Boost Productivity with Google Add-On
Access powerful tools directly within Google Workspace for seamless marketing reporting.

Custom Reports, Instant Insights
Generate tailored marketing reports effortlessly, delivering key insights in just a few clicks.

Actionable Analytics at a Glance
Access in-depth analytics to uncover trends, optimize strategies, and drive impactful decisions.

Collaborate with Ease
Invite team members to share insights, streamline workflows, and work together seamlessly.

Design That Stands Out
Elevate visuals effortlessly with customizable styling options tailored to match brand aesthetics.

Effortless Data Syncing
Keep insights up-to-date with seamless and flexible data synchronization across platforms.

Connect with Ease
Integrate effortlessly with leading platforms to streamline workflows and maximize efficiency.

Boost Productivity with Google Add-On
Access powerful tools directly within Google Workspace for seamless marketing reporting.

Custom Reports, Instant Insights
Generate tailored marketing reports effortlessly, delivering key insights in just a few clicks.

Actionable Analytics at a Glance
Access in-depth analytics to uncover trends, optimize strategies, and drive impactful decisions.

Collaborate with Ease
Invite team members to share insights, streamline workflows, and work together seamlessly.

