
Setting up analytics on a website is essential for any site administrator who wants to understand visitor behavior and boost conversions. Monitoring these insights carefully allows you to fine-tune your site for a better user experience and drive more engagement.
While a basic Google Analytics code and a Facebook pixel are a good starting point, there’s much more you can do. If you’re ready to dive into advanced tactics, like split-testing, retargeting, or embedding a variety of optimization tools, then it might be time to explore Google Tag Manager. This tool can help you easily manage multiple tags without bogging down your site.
But how to install GTM in Webflow? Here’s your guide to it.
Also read: How to Install Google Tag Manager on Bigcommerce
Why is it Important to Add GTM in Webflow?
Before you learn how to install GTM in Webflow, it’s necessary to know why it is important to do so. Adding GTM to your Webflow allows you to make the most of your digital marketing strategy. You can improve decision-making with its data-driven abilities for better results.
Here’s why Webflow Google Tag Manager can bring in heaps of benefits:

1. Better Management
Webflow and GTM create an easier way to handle multiple tracking codes and scripts on your website. Before GTM, adding or updating tracking codes meant diving into your website’s code directly—a process that could get complicated, eat up your valuable time, and often introduce mistakes.
But now, GTM has changed the game with a user-friendly interface. This setup allows even those with minimal coding skills to manage tracking seamlessly, saving time and reducing the chance of errors.
2. More Control
Integrating Webflow with GTM gives you unmatched control over when and how tracking tags are triggered on your site. With GTM, you set the rules and conditions for each tag, ensuring that data is collected exactly when it’s most relevant.
With precise control, tracking specific user actions, monitoring key events, or measuring conversions is now easy.
3. Quick Deployment
When Webflow and GTM work together, deploying new tags or updating existing ones becomes a breeze. This flexibility is a game-changer for marketers and webmasters who need to keep pace with fast-moving campaigns.
4. Simplified Teamwork
In team settings, Webflow GTM makes collaboration easy. Multiple team members can access and update the same GTM container, enabling everyone to work together seamlessly on managing and maintaining tracking configurations.
Utilize the full potential of Webflow GTM to make managing and strategizing your marketing efforts easier. Integrating the two allows you to take better control, simplify your efforts, and enhance your efficiency to make better data-driven decisions.
How to Install GTM in Webflow?
Installing GTM in Webflow is fairly easy, and you can get it done quickly if you follow the simple steps mentioned below:
Step 1: Start by logging into your Webflow account. Select the project you want to connect with Google Tag Manager (GTM).
Step 2: Head to Project Settings. You can find this option in the top-right corner of your project dashboard.
Step 3: Inside the Project Settings, look for the Custom Code section. This is where you’ll add code snippets to either the header or footer of your site.
Step 4: In your Google Tag Manager account, locate the GTM container snippet, which is split into two parts:
- One part goes in the <head> section of your site.
- The other part should go just after the opening <body> tag.
Step 5: Copy the first part of the snippet (for the <head> section) and paste it into the Head Code field in Webflow.
Step 6: Grab the second part (for the <body> section) and paste it into the Footer Code field.
Step 7: After placing both pieces of the GTM code, make sure to save your changes. Then, publish your site so that GTM is live and active.
Step 8: To confirm everything is set up correctly, visit your published site. Open your browser’s developer tools, inspect the page source, and verify that the GTM code appears in both the <head> and <body> sections.
Step 9: With GTM installed, you can start adding tags—like Google Analytics or Facebook Pixel—through Google Tag Manager itself.
Step 10: Before you make any new tags live, switch to Preview Mode in GTM. This lets you test them and confirm they’re working as expected.
Step 11: After testing, if everything looks good, publish the changes in Google Tag Manager to go live on your site officially.
How to Set Up Google Tag Manager?
Below are the steps to set up your Google Tag Manager account:

- Start by logging into your Google account and go to Google Tag Manager.
- Click on “Create Account,” type in your business name, and select your country.
- Next, add a “Container Name” (this can be your website’s name) and choose “Web” as your platform.
- Accept the terms to proceed, and you’ll get two code snippets to add to your site.
- Place the first code within the <head> section of your site and the second one right after the <body> tag.
That’s it! Your Google Tag Manager setup is all set and ready to go.
Conclusion
We hope our step-by-step guide was useful for you in setting up your GTM into Webflow and simplifying your marketing strategies! Get started with this integration without having extensive coding knowledge and gain the power to manage your strategies!
Frequently Asked Questions
What is Google Tag Manager (GTM)?
Google Tag Manager (GTM) is a free, user-friendly tool that simplifies the task of adding and managing marketing tags—like snippets of code or tracking pixels—on your website.
Instead of directly tweaking your site’s code, GTM lets you handle these tags from a single, centralized place. This makes tracking user behavior, managing analytics, and deploying marketing tools much easier and keeps everything organized in one convenient hub.
Do I need coding knowledge to install Google Tag Manager on Webflow?
No, you don’t need extensive coding knowledge to install GTM on Webflow. With its easy-to-use interface, Webflow can help you install GTM by simply adding the GTM code snippets in the desired sections of your website.
Can I track website performance using GTM?
Yes, once GTM is set up, you can easily monitor key website metrics by connecting it with tools like Facebook Pixel, Google Analytics, and other marketing platforms, allowing you to track performance without manually adding code.
How do I test if Google Tag Manager is working correctly in Webflow?
With Google Tag Manager’s Preview Mode, you can test and confirm that your tags are firing correctly. Alternatively, you can use the Google Tag Assistant browser extension to verify that everything is set up properly.
Will installing Google Tag Manager affect my Webflow website’s loading speed?
GTM will not interfere with your Webflow website’s loading speed when implemented correctly. However, using too many heavy tags on GTM may affect the website’s loading time. Hence, optimize the tags and use only the necessary ones.
Can I remove Google Tag Manager from my Webflow site later?
Yes, you can remove GTM from your Webflow website whenever you want. All you need to do is delete the GTM code snippets from your Webflow project’s Custom Code sections.
Work smarter by automating client reports now
Get Started for free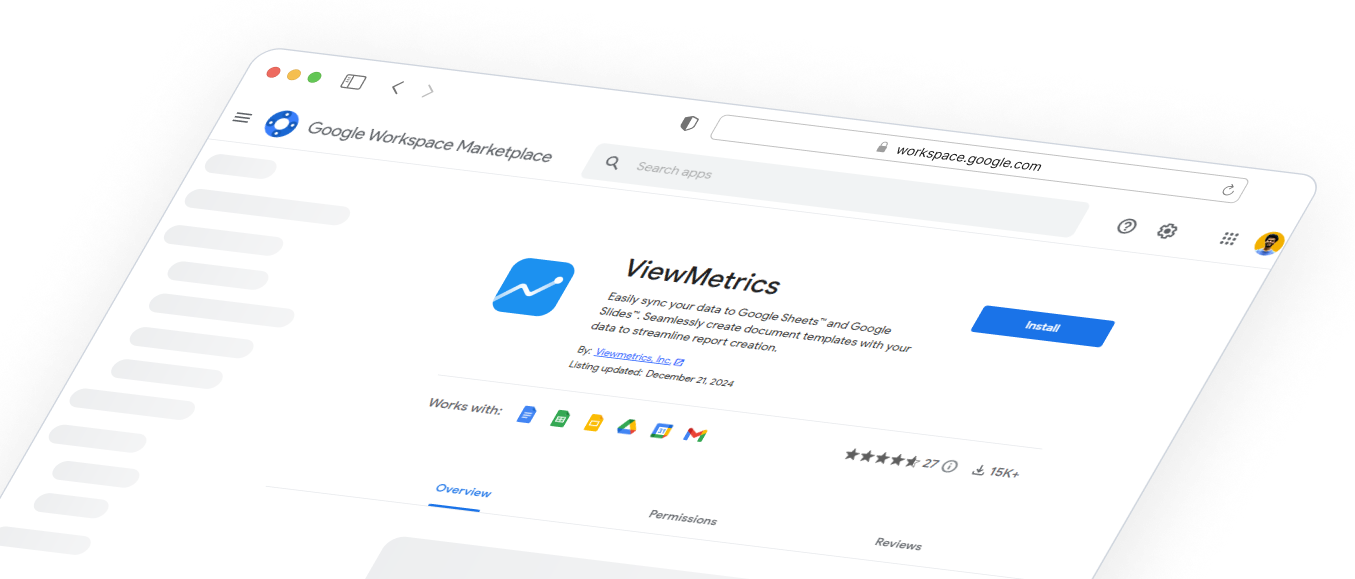
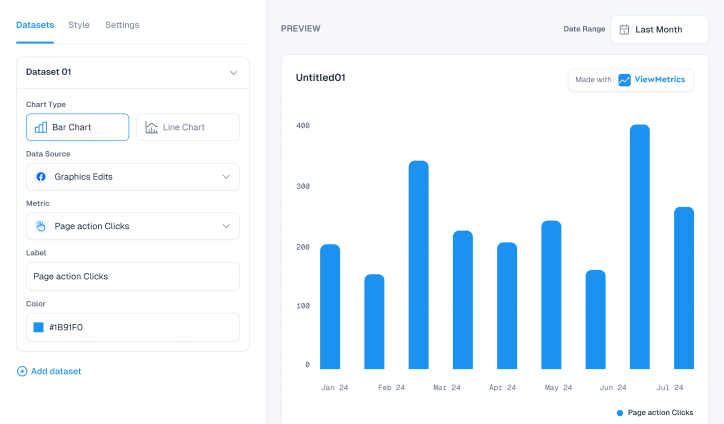
Design That Stands Out
Elevate visuals effortlessly with customizable styling options tailored to match brand aesthetics.
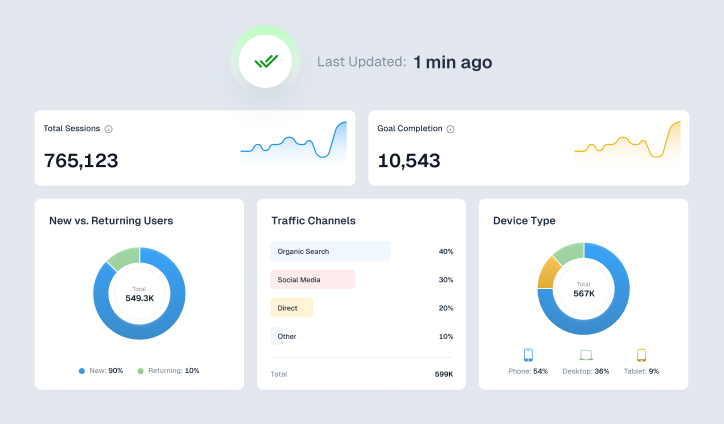
Effortless Data Syncing
Keep insights up-to-date with seamless and flexible data synchronization across platforms.
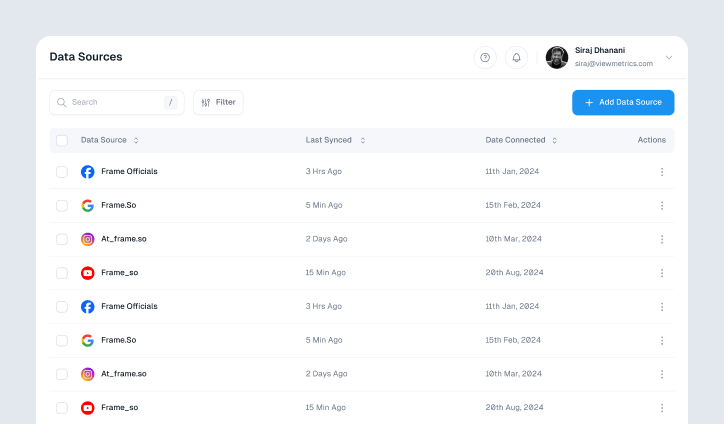
Connect with Ease
Integrate effortlessly with leading platforms to streamline workflows and maximize efficiency.
Boost Productivity with Google Add-On
Access powerful tools directly within Google Workspace for seamless marketing reporting.
Custom Reports, Instant Insights
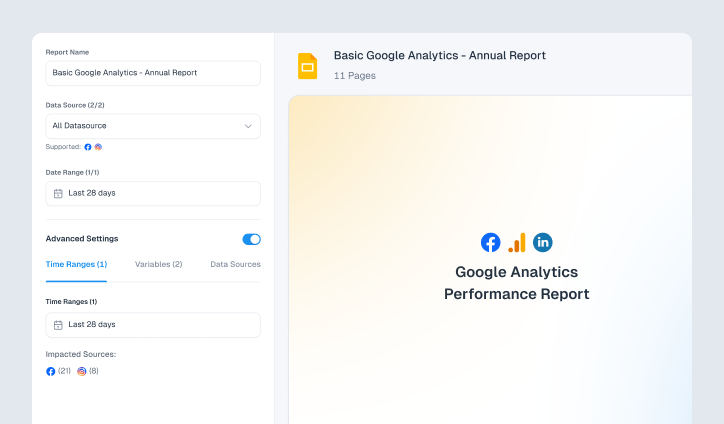
Generate tailored marketing reports effortlessly, delivering key insights in just a few clicks.
Actionable Analytics at a Glance
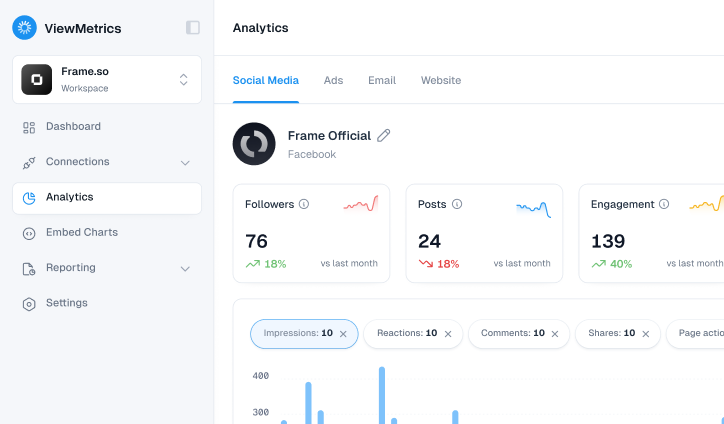
Access in-depth analytics to uncover trends, optimize strategies, and drive impactful decisions.

Collaborate with Ease
Invite team members to share insights, streamline workflows, and work together seamlessly.

Design That Stands Out
Elevate visuals effortlessly with customizable styling options tailored to match brand aesthetics.

Effortless Data Syncing
Keep insights up-to-date with seamless and flexible data synchronization across platforms.

Connect with Ease
Integrate effortlessly with leading platforms to streamline workflows and maximize efficiency.

Boost Productivity with Google Add-On
Access powerful tools directly within Google Workspace for seamless marketing reporting.

Custom Reports, Instant Insights
Generate tailored marketing reports effortlessly, delivering key insights in just a few clicks.

Actionable Analytics at a Glance
Access in-depth analytics to uncover trends, optimize strategies, and drive impactful decisions.

Collaborate with Ease
Invite team members to share insights, streamline workflows, and work together seamlessly.

Design That Stands Out
Elevate visuals effortlessly with customizable styling options tailored to match brand aesthetics.

Effortless Data Syncing
Keep insights up-to-date with seamless and flexible data synchronization across platforms.

Connect with Ease
Integrate effortlessly with leading platforms to streamline workflows and maximize efficiency.

Boost Productivity with Google Add-On
Access powerful tools directly within Google Workspace for seamless marketing reporting.

Custom Reports, Instant Insights
Generate tailored marketing reports effortlessly, delivering key insights in just a few clicks.

Actionable Analytics at a Glance
Access in-depth analytics to uncover trends, optimize strategies, and drive impactful decisions.

Collaborate with Ease
Invite team members to share insights, streamline workflows, and work together seamlessly.


